EDITING YOUR CONTROL RECORD
Follow the below-given steps of Editing Your Control Record
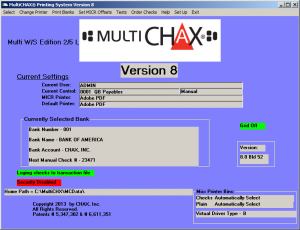
- Open MultiCHAX and select SETUP from the menu.
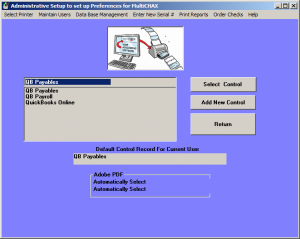
- In the SETUP screen, click on SELECT THIS CONTROL
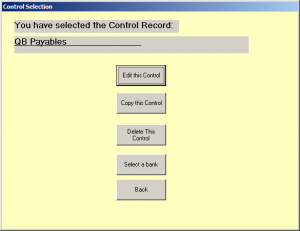
- Click EDIT THIS CONTROL
-
The following is the EDIT CONTROL SCREEN
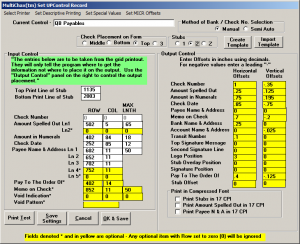
- The following is your check placement settings. Select Top, Middle, Bottom, or 3-up check styles. Note: Only 1 style can be selected per control record.

- Select the number of stubs. You may select 1, 2, or Z-Fold. See Z-fold checks for more information.

- Method of bank selection. (NOTE: Automatic feature available on Ultimate Edition only). In Manual mode, a list of banks will be displayed for selection and a check number confirmation screen before checks are sent to the printer. And in Semi-Auto mode, the bank will be selected by MultiCHAX, and the check number confirmation screen will be displayed before checks are sent to the printer. In Automatic mode, the bank and check numbers are automatically selected by MultiCHAX when properly configured. Read Method of Bank selection for more information.

- Input control: the entries below are dependent on the current accounting program. MultiCHAX reads the field positions of each variable. Each field has its own coordinates (row and columns) and length that can be viewed by printing the grid layout page. (NOTE: Fields in white require. Fields in yellow are optional)

- Output control: the entries below are where the variables will be printed on the checks. We suggest you print a test page and adjust the output control as necessary. (NOTE: The values are adjusted in inches)
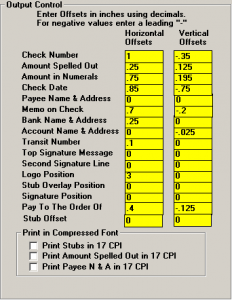
- Print in Compressed Font. Various settings can change to be print in a fix font size of 17 CPI (characters per inch). Mark the box to change the fields for:
Print Stubs in 17 CPI
Amount of Print Spelled Out in 17 CPI
Print Payee Name and Address in 17 CPI
